A Guide to the Evergreen Trading System
Account Receivable Module
Type of supported transactions
-
Invoice
-
Receipt
-
Credit Note
-
Debit Note
-
Refund
-
Waiving
-
Bad Debts Writting Off
Step to create new AR invoice
-
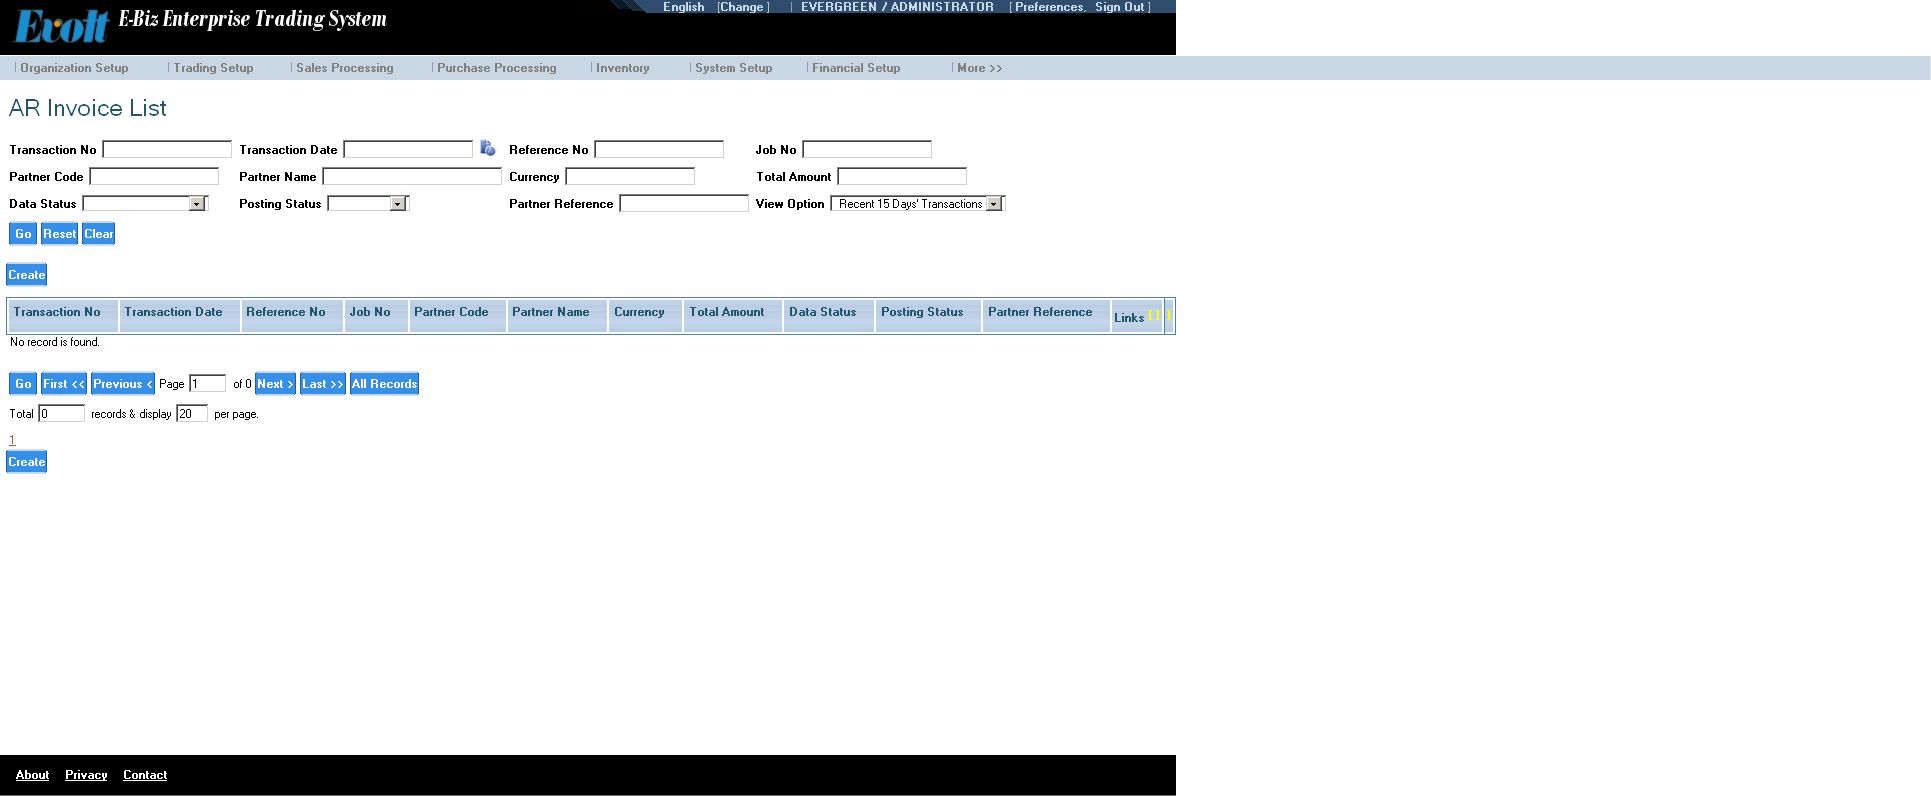
Open AR invoice list: Application Menu - Account Receivable Journal - Invoice - AR invoice List
-
Click the Create button at the bottom of the page to open the AR invoice.
-
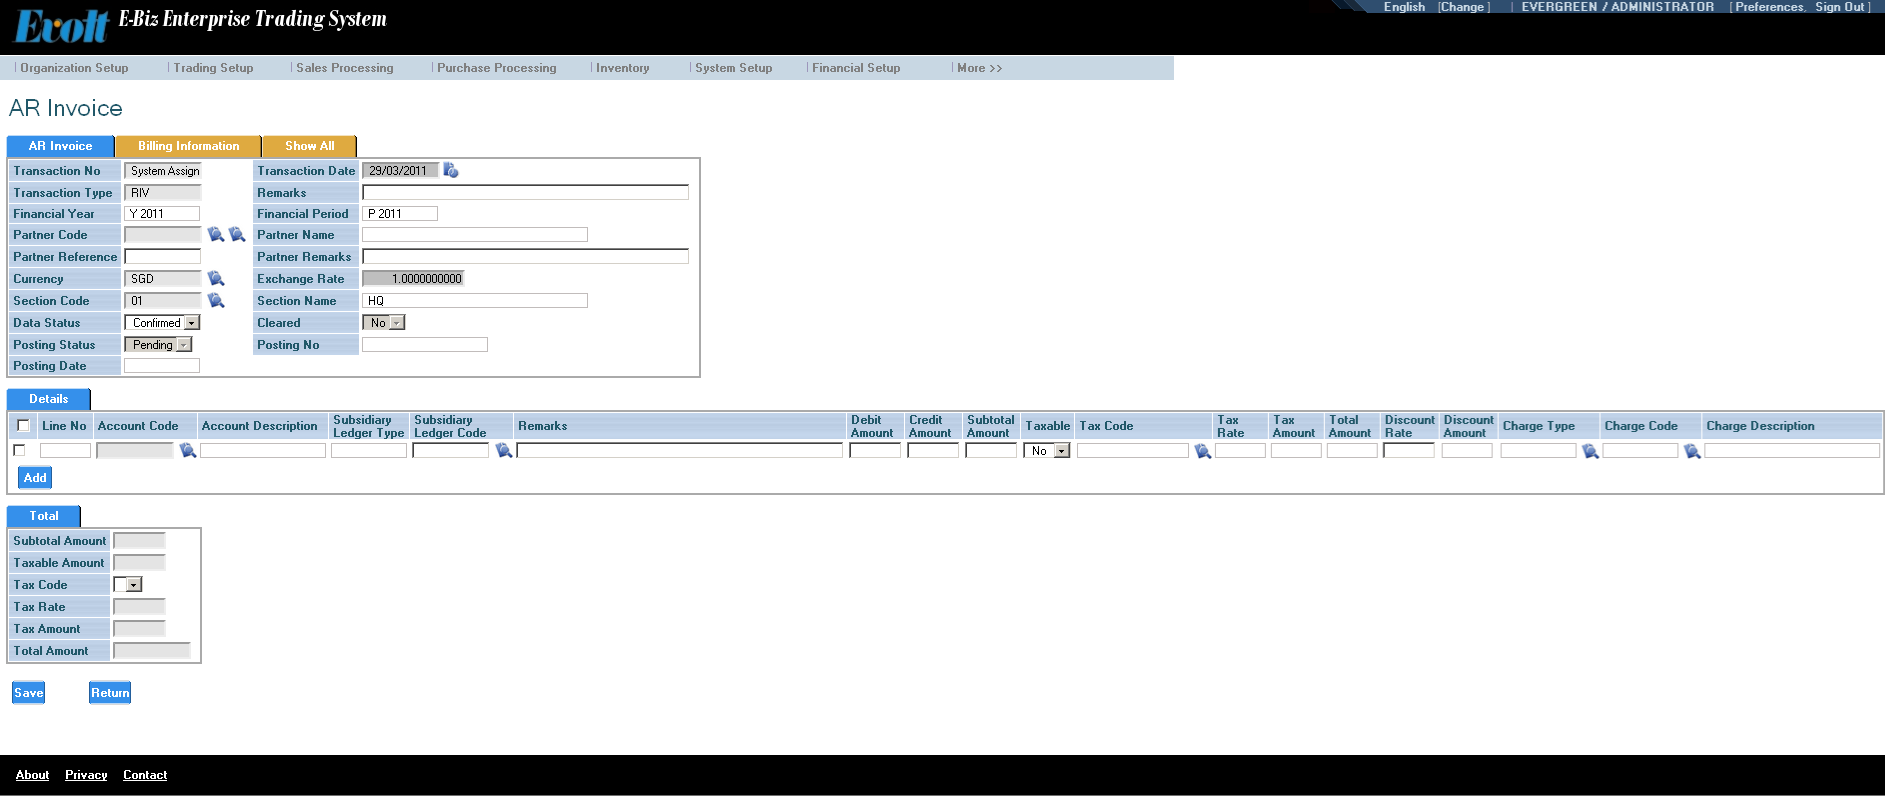
Set Transaction Date. By default, system will set it to the current date.
-
Select Partner Code and Partner Name from the customer pop up list next it.
-
Enter Partner Reference and Partner Remarks (optional).
-
The system default currency will be set automatically. If this invoice uses a different currency, select it from the currency pop up list.
-
Select Section Code (optional).
-
Set Data Status to Draft or Confirmed.
-
Select Account Code in the line from account pop list.
-
If subsidiary ledger is used for the selected account, enter or select subsidiary ledger code.
-
Enter Debit Amount or Credit Amount. Usually only debit amount is entered and credit amount is blank.
-
Select Taxable to Yes or No.
-
If all the lines of the invoices are taxable and the tax codes are the same, do not set tax code in the line. Otherwise set tax code from the tax pop up list.
-
Enter discount rate if discount is given.
-
Set Charge Type and Charge (optional).
-
If the invoice needs more than one line, click Add to insert a new line and repeart from step 9.
-
Check total amount and tax at the footer. If calculation is right, click Save
Steps to modify existing AR invoice
-
Open AR invoice list: Application Menu - Account Receivable Journal - Invoice - AR invoice List
-
Locate the record you want to modify and click the Edit link at the right side to open the AR invoice screen.
-
Make your modification and click Save to save the changes.
Steps to cancel existing AR invoice
-
Open AR invoice list: Application Menu - Account Receivable Journal - Invoice - AR invoice List
-
Locate the record you want to modify and click the Cancel link at the right side.
Steps to view all AR invoices including cancelled records
-
Open AR invoice list: Application Menu - Account Receivable Journal - Query - Invoice.
-
Locate the record you want to view and click the View link at the right side.
Steps to generate customer satatement or ageing report
-
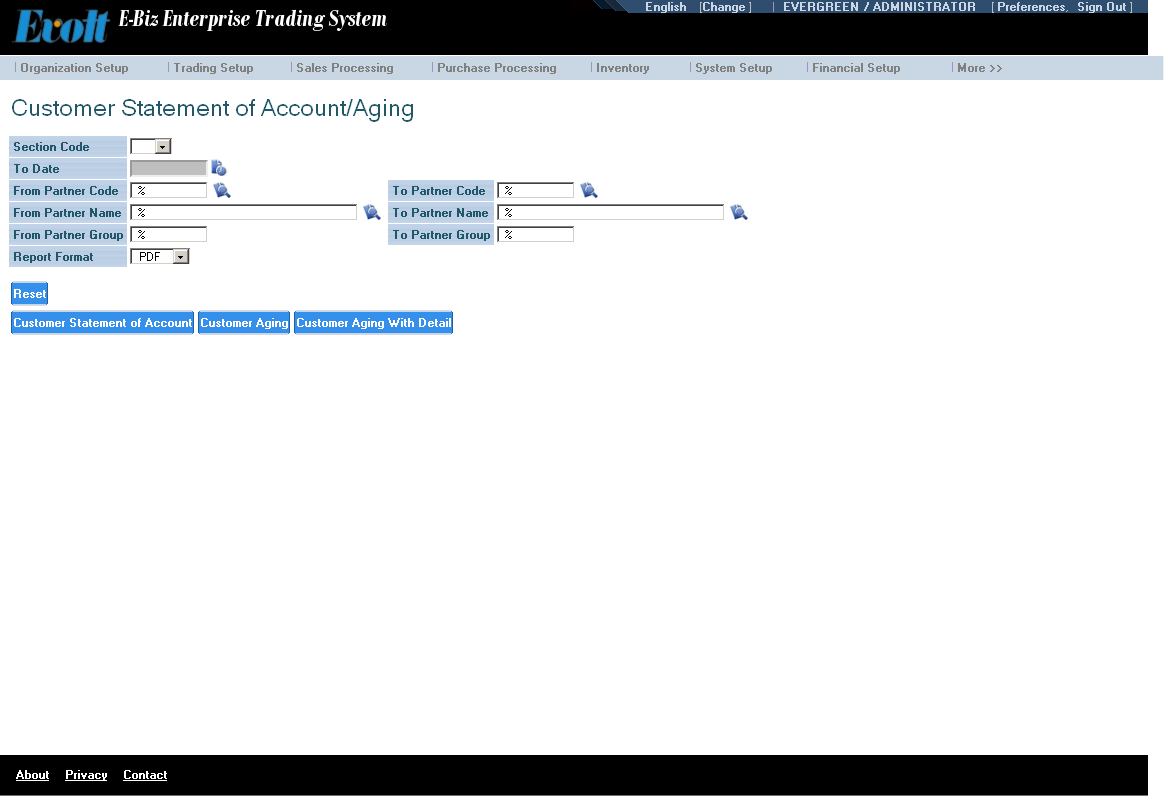
Open the statement wizard page: Application Menu - Account Receivable Journal - Report - Customer Statement of Account/Ageing. wizard page
-
Set report parameters. Those highlighted in gray colors are mandatory parameters, others are optional parameters.
-
Select report format as pdf or excel.
-
Click Customer Statement of Account, Customer Ageing or Customer Ageing Details to generate the report.